How to use the Ribbon Feet SetUpdated 11 days ago
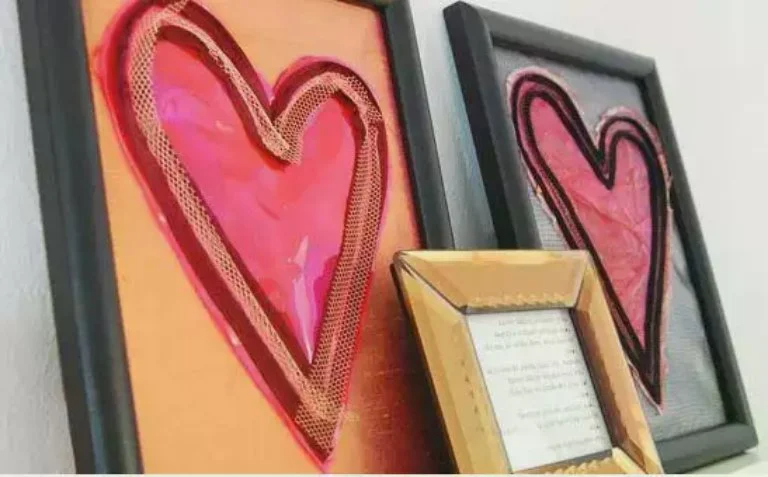
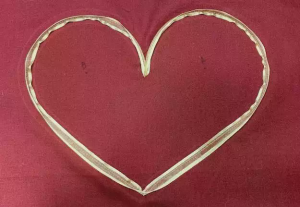
With the Ribbon Feet Set you can easily create decorative ribbon embellishment. Three different feet will accommodate a variety of ribbons. You can create free hand hearts or use the new Circular Attachment templates to create ribbon hearts.
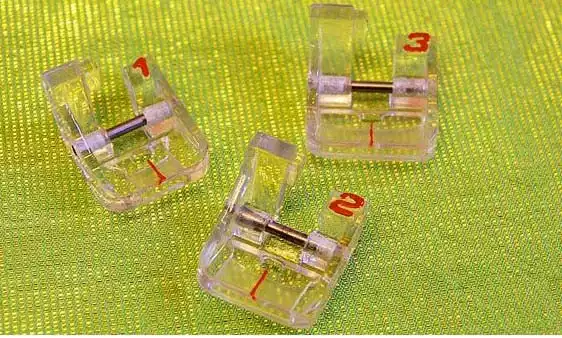
- Use iron-on stabilizer to tear-away stabilizer to stabilize the fabric when sewing. The amount of stabilizer needed will depend on the thickness of fabric. Be sure to test on a small piece of fabric you are using before you begin your project.
- Thread the machine with desired thread color, you can choose to match your ribbon, use monofilament, or a contrasting color.
- Use a straight stitch, as a wider or decorative stitch could damage the presser feet or break a needle
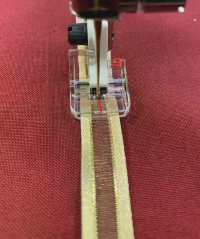
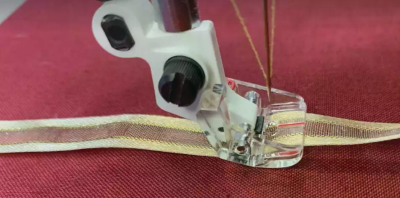
- Choose the ribbon foot that best suits your ribbon width. For best results the ribbon should fill the slot on the foot and feed reality through. Try to use a ribbon with an even thickness for best results
- Thread the ribbon from the front through the slot in the foot through to the back of the foot, be sure to pull at least 1-2” of ribbon behind the foot
- Attach the foot onto the machine
- Make sure that the ribbon flows easily while you are sewing, you can place the ribbon to the right of the machine or over your shoulder to keep it flowing easily and without tension
If your machine has the free motion function, you can free motion stitch with this set. Hold the end of fabric when you begin sew and guide the fabric lightly to turn and change directions while you sew
Tips:
- Use light weight, flat ribbons
- You can cut your own ribbon from fabrics either cut straight or on the bias
- When doing a spiral start sewing from the inside out
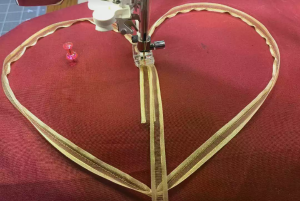
How to Sew a Heart with the Ribbon Feet Set
- Draw/trace a heart on your fabric with a fabric marker or pen
- Set up machine for ribbon feet set
- Choose ribbon for your project
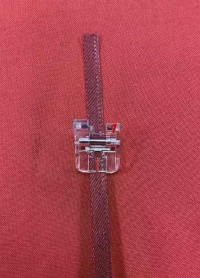
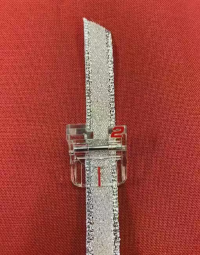

- Stitch following your heart drawing, use a straight stitch when using the ribbon feet set
