How do I Hem Jeans?Updated 3 days ago
One of the most common garment alterations is hemming jeans. Whether it’s tailoring a pair of designer jeans or hemming up some hand-me-downs for the kids, there comes a time sooner or later when you’ll want to hem a pair of jeans! Hemming jeans by machine, however, can present particular challenges, so in addition to showing two different hemming techniques, we’ll share some tips for successful sewing.
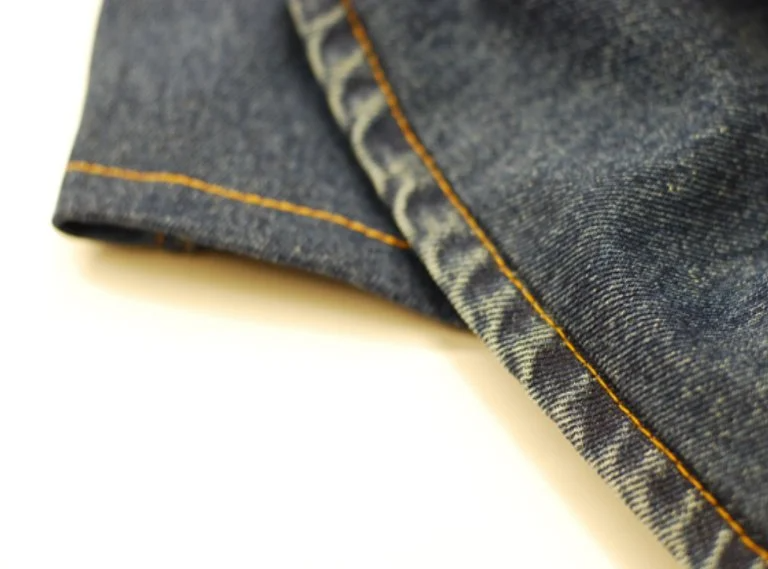
There are two basic hemming methods for hemming jeans. One method is to simply cut off the existing hem, fold up the new hem and topstitch it. The manufacturer’s original hem is cut away. The end result is a neat looking hem, but the bottom edge will no longer have the “distressed” look of the original jeans hem. The other method allows you to shorten the length of the jeans, but maintain the distressed look of the manufacturer's original hem.
Hemming Jeans by Removing Original Hem
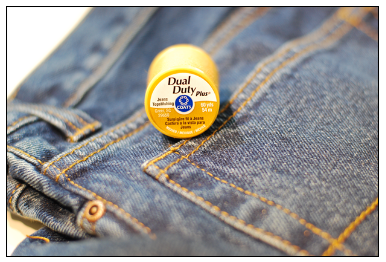
You’ll need scissors, pins, a removable fabric marker and a Denim (size 16 or size 18) sewing machine needle. Choose a topstitching thread that matches the color of the other stitching on the jeans. Some thread manufacturers have Jeans Topstitching thread in popular colors. You can use regular all-purpose thread in the bobbin.
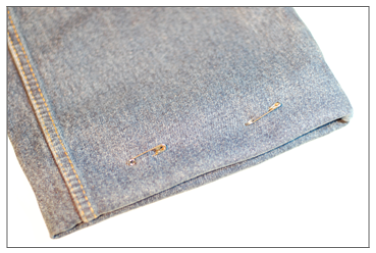
Fold up the jeans to determine the desired finished hem length, but don’t cut yet. Pin in place and then try them on in front of a mirror, wearing the shoe heel height that you plan to wear with the jeans. Adjust the hem length as needed.
Mark the finished length desired for the jeans using pins or a removable fabric marker. Open out the hem and trim away the original hem, leaving a 1” (25mm) hem allowance.
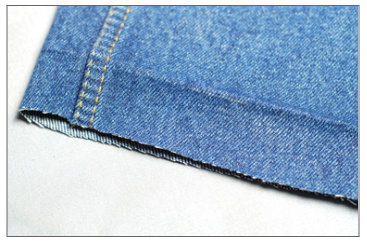
At this point, you can do either of two things to prepare the hem. You can fold the fabric up ½” (13mm) then ½” (13mm) again and press. Pin in place, and you’re then ready to topstitch.
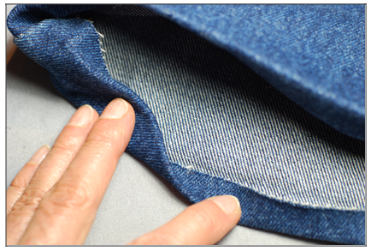
OR, if your denim is quite thick, you can alternatively cut your hem allowance down to ½” (13mm), thread the machine and bobbin with all-purpose thread and use an overedge stitch to finish the raw edge. You could also use an overlock machine for the edge finish.

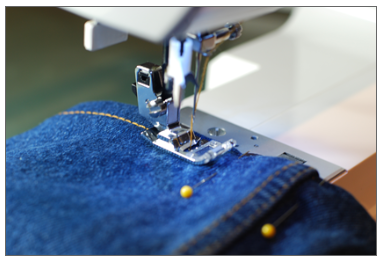
Pin the fold in place, Thread the top of the machine with jeans topstitching thread, with all-purpose thread in the bobbin. Convert the machine to free-arm mode to make it easier to sew around the hem. Set the machine for straight stitch, with stitch length at a medium-long setting. Sew around the hem at the desired distance from the bottom fold.
Hemming Jeans & Keeping the Original Hem
You’ll need scissors, pins, a removable fabric marker and a Denim (size 16 or size 18) sewing machine needle. You can use all-purpose thread in the needle and bobbin, as there is no topstitching done with this method.
Determine the desired finished length and mark that with pins. Measure the distance from the desired finished length marked to the bottom edge of the distressed hem. For this example, the distance is 3” (7.6cm) Mark a line with the removable fabric marker.
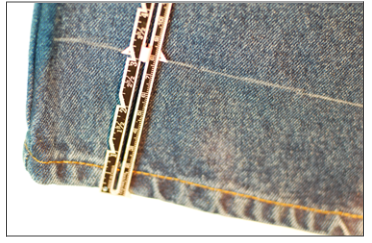
Lay the jeans on a table. Measure the depth of the original hem from the very bottom edge to the topstitching line - this is usually about ½” (13mm). Double that measurement, in this case that equals 1” (25mm). Mark a line 1” (25mm) above the first line that you drew on the jeans.
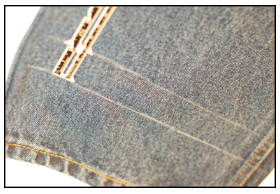
Fold up the jeans so that the very bottom edge of the original hem is lined up with the top line drawn on the jeans. Pin in place.
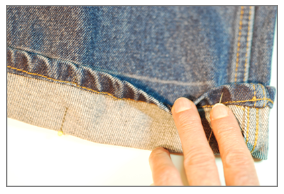 .
.
Thread the top of the machine and bobbin with all-purpose sewing thread. Convert the machine to free arm mode to make it easier to sew. With the machine set for straight stitch, sew around the hem, right next to the original hem.
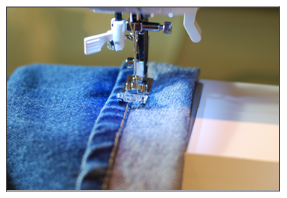
When finished, sew an overedge stitch then trim the excess fabric.

Press the original hem down. The fold line will barely be noticeable!
